Uncategorized

Week 48

IMG_2784 IMG_2795


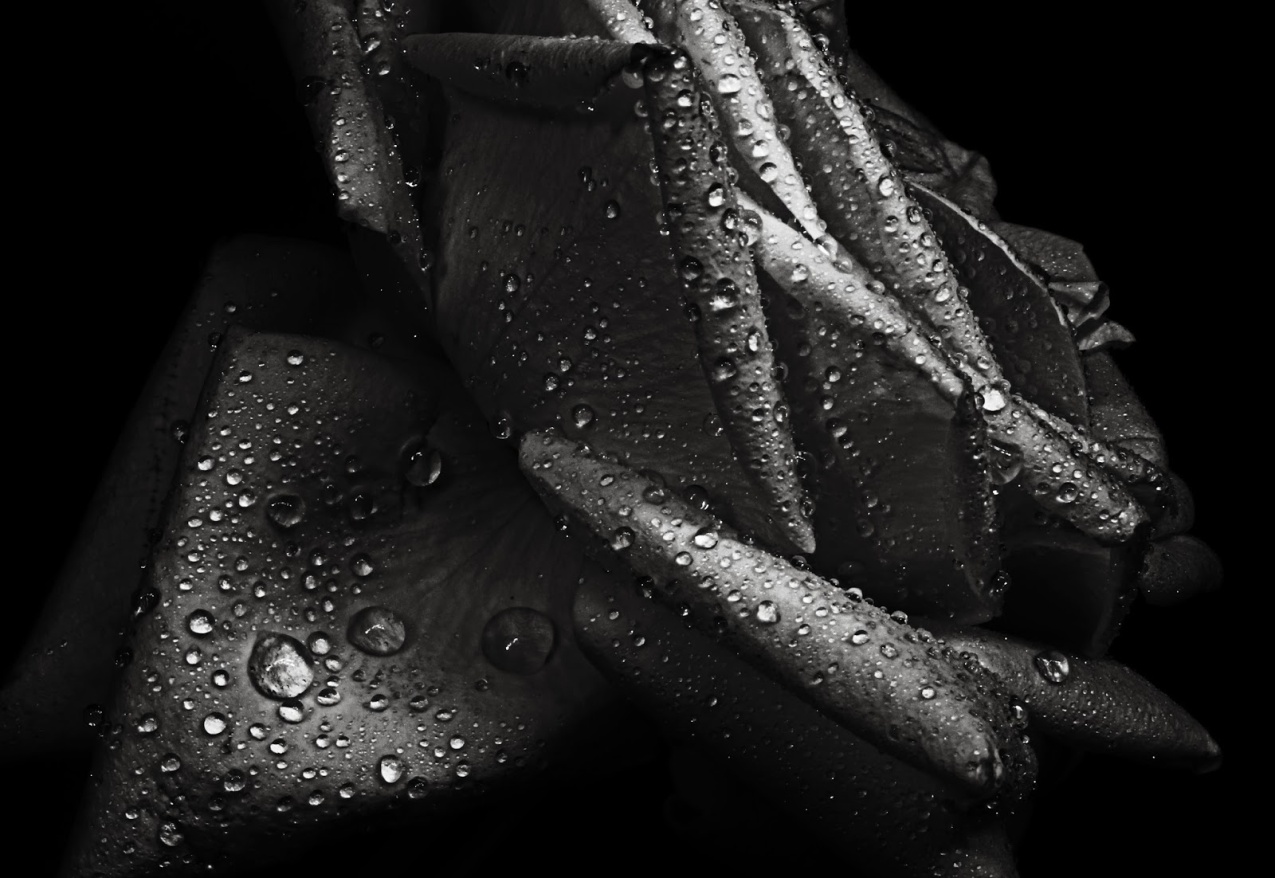
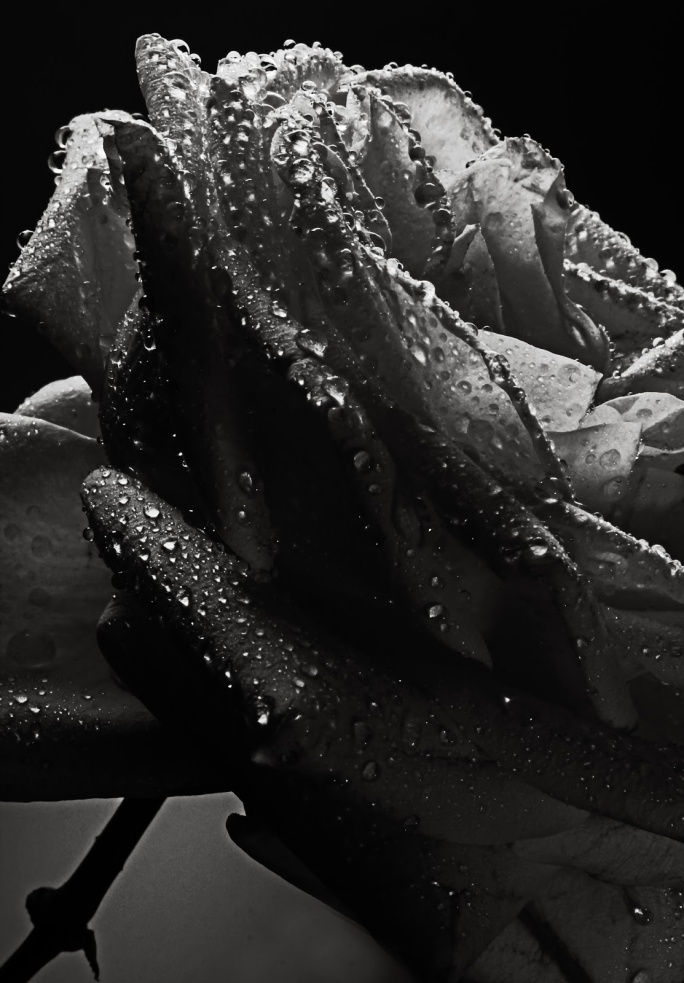
For this week, I needed some images for photography at school based around flowers and water, I decided to get some images of roses covered in water droplets which I created using a water spray. To light the images, I used a small torch which I directed during the long exposure. This technique is very useful as it allows the amount and area of the lighting to be controlled. The long shutter speed also meant a smaller aperture which was okay as the backgrounds did not need blurring out as they were either white or black. For the first image, I wanted the background completely dark to draw emphasis on the shape and texture of the petals. To do this, I quickly lit the petals and made sure I didn’t shine the torch on the background. For the second image, I lit the top of the flower for most of the exposure and then I shone the torch on the background behind the stem to make it a silhouette. In Photoshop, I converted both images into black and white as they didn’t have much colour in them anyway and I decreased highlights to bring out the detail in the overexposed areas. I was influenced by the famous fashion photographer Nick Knight’s image of a black rose – http://showstudio.com/img/products/401-600/550_960n.jpg?1358960077

IMG_2973


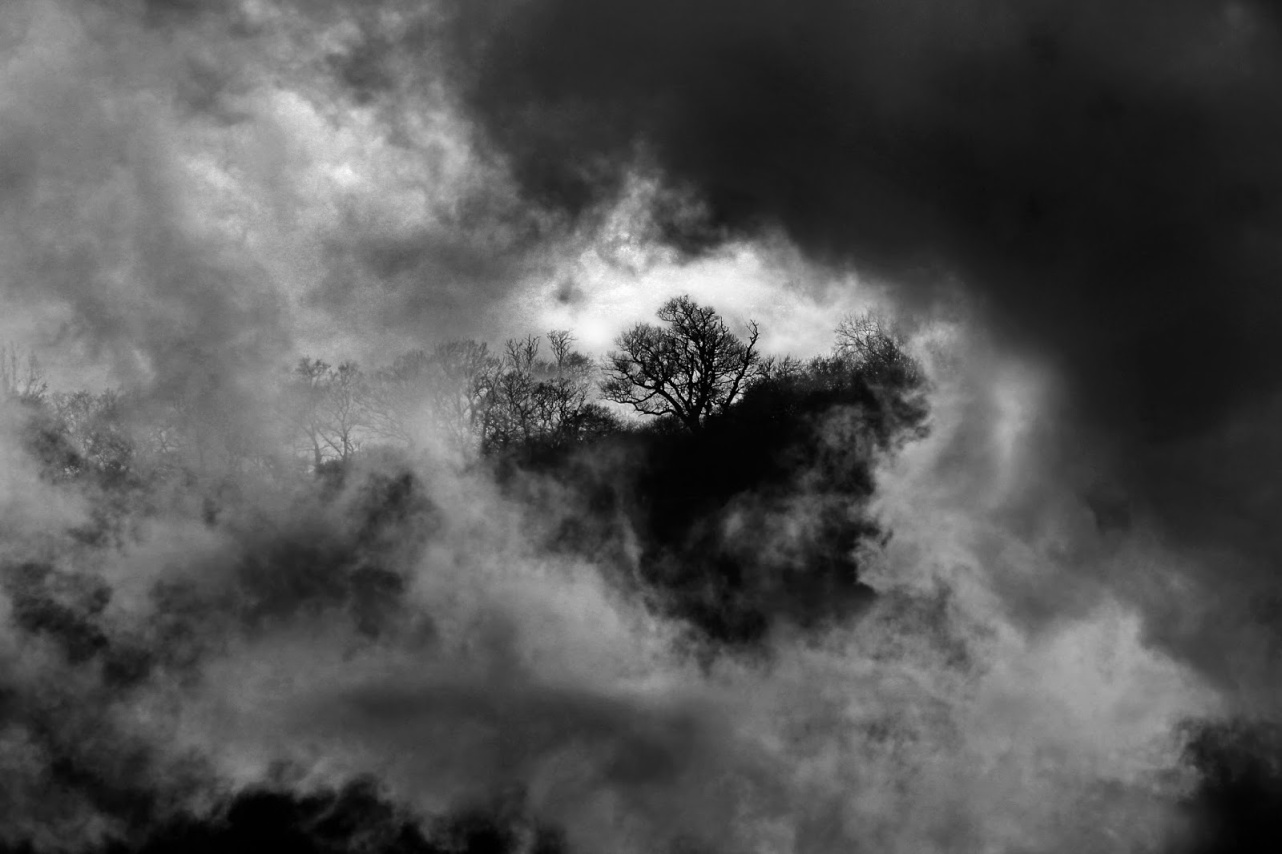
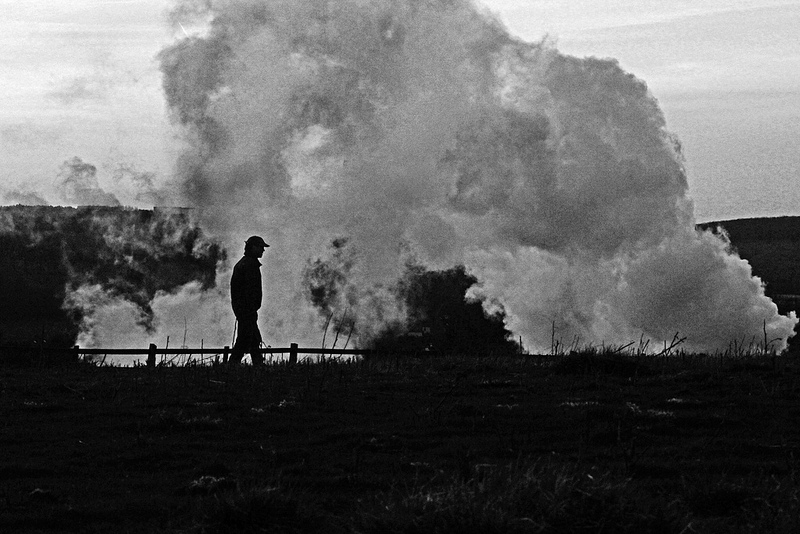
On Friday after school, my Dad and I went to East Leake where a British Gypsum Factory is. We spent an hour walking up a hill which had a backdrop of the factory and we waited for the sun to set. As you can imagine, there was lots of smoke and while we were waiting, I concentrated on getting an image of some silhouetted trees framed by the smoke. After about twenty minutes I finally got the photo I was after. When editing the photo, I converted it into black and white to make it look more mysterious and I used the dodge and burn tools to darken and lighten the smoke and bring out its detail. I am quite pleased with the overall image as I captured the slightly enigmatic mood I was after. The image below was taken at the same location and it is of my dad silhouetted against the smoke.

13028925684_2efb986365_c

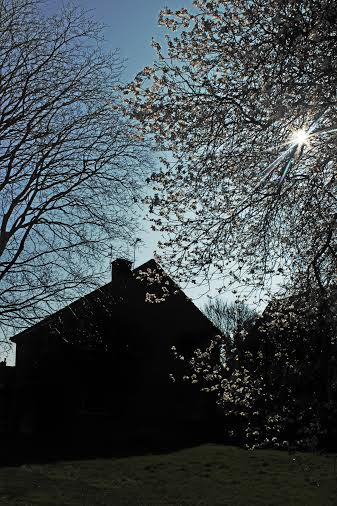
This last image was taken today in a nearby village. I went out after an image of the blossom ,which I had noticed was out, with a backdrop of some houses to give it an urban feel. I was after something in the style of the brilliant landscape artist George Shaw in particular this image. To take the photo, I used a small aperture of f/22 to create a starburst effect with the sun. This also made the houses silhouettes, simplifying the image and bring out the white and pink of the blossom. In Photoshop, I increased the blues and decreased the saturation as the green of the grass was too vibrant. Overall, I am pleased with the colours and the contrast but I was after a flatter image more in the style of George Shaw.
Week 48 2

Also congratulations to Ben Kiedyszko who won the overall prize, it was well earned.


Week 52


IMG_5245 4 2

I have finally reached the end of Project 52, so to finish the fifty two weeks I have decided to post quite a few photos. I’m about a week and a half behind because I had a DofE weekend on the last week and I was unable to take any photos then so I thought I’d push it back a little further as I wanted the final week of the project to be the best week. I also switched from Blogger to WordPress because for some reason all my images started disappearing, so I have spent about two solid days transferring the posts. Anyway on with the post.

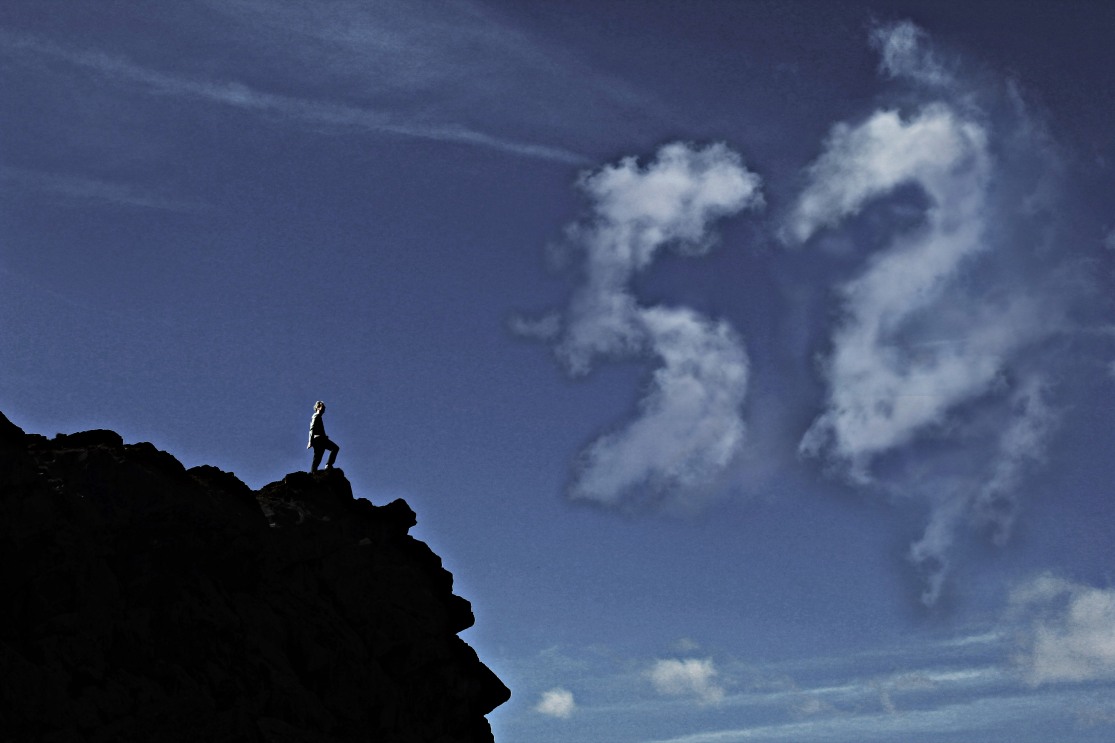
This first image was taken in Leicester in a location I found on Google Maps. I found these set of rocks which I asked my Dad to stand on, asking him to look into the distance.  In Photoshop, I created a fifty use using various images of clouds I took that day. I also darkened the rocks to create a silhouette. I was influenced by this image by Alex Stoddard where he managed to create a cloud.


IMG_5020 2

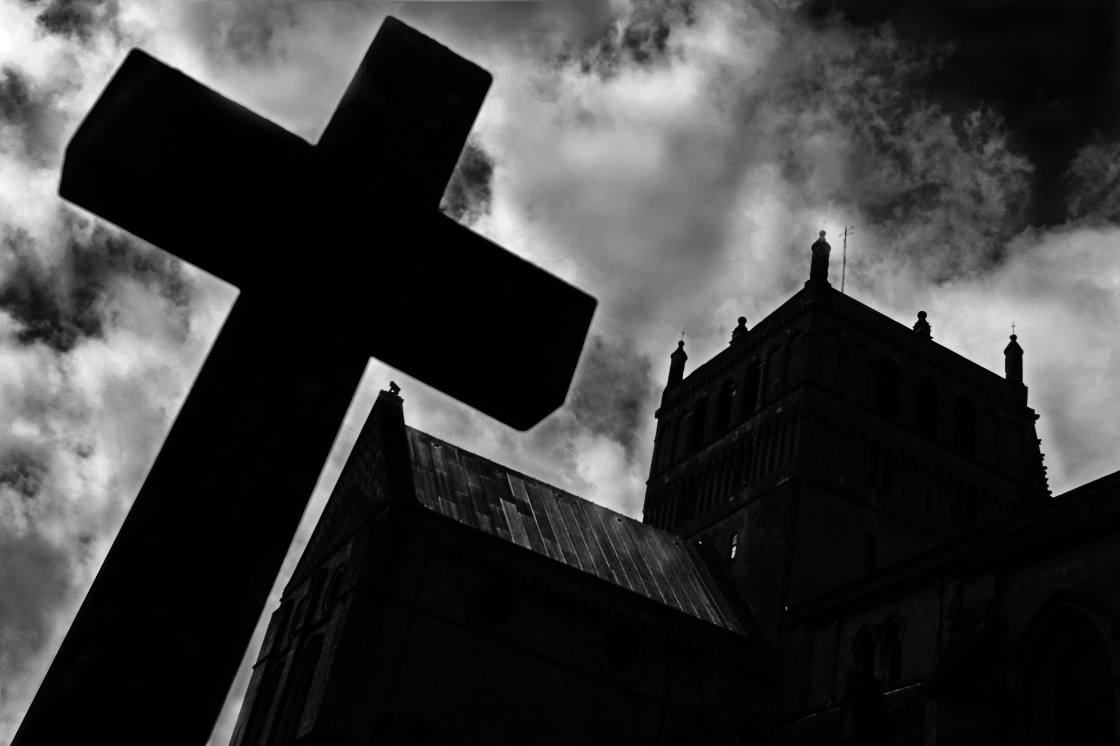
This second photo was taken at Southwell Minster, which I went to with my Mum during the week. The classic image of it is from the front, looking straight on at the facade. In search of a new perspective, I lay down on the grass at the back of the cathedral and I positioned a cross align with the side of the building. In post- processing, I converted the photo into black and white used the shadows and highlights to make the sky more dramatic.

IMG_4953 3 2

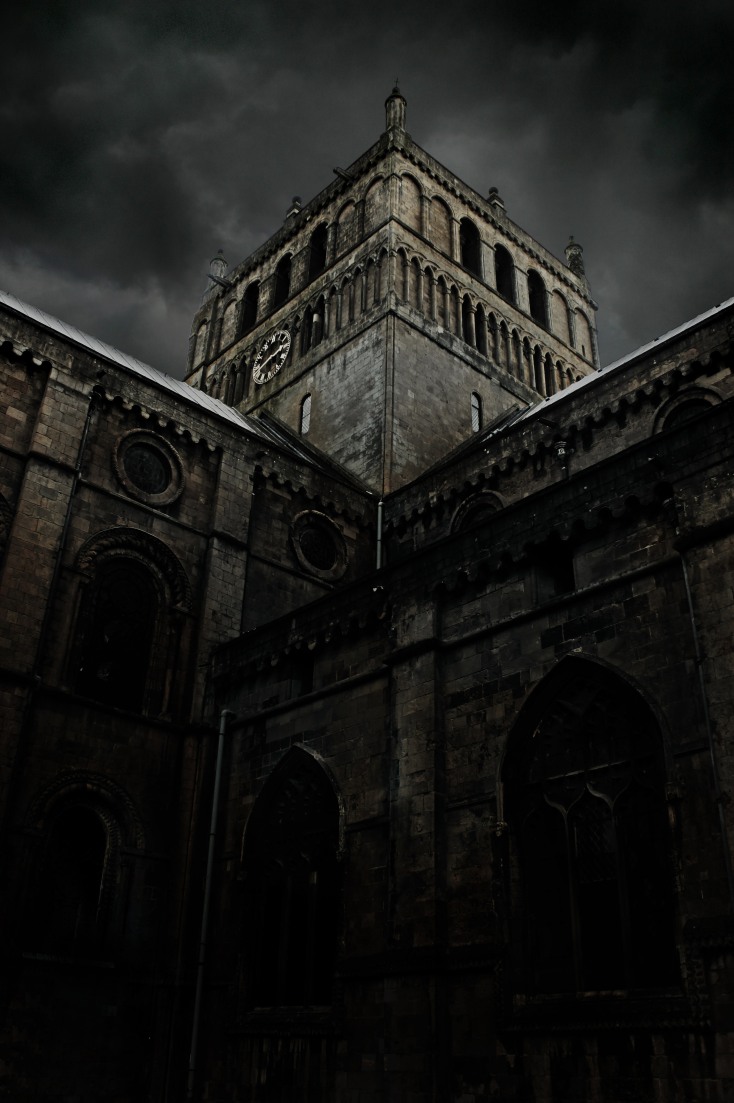
Here is a second image of Southwell Minster from a different angle, with a different composition.  I  reduced the colour and added a vignette to draw the viewer to the central tower of the minster.

IMG_5145 5 2

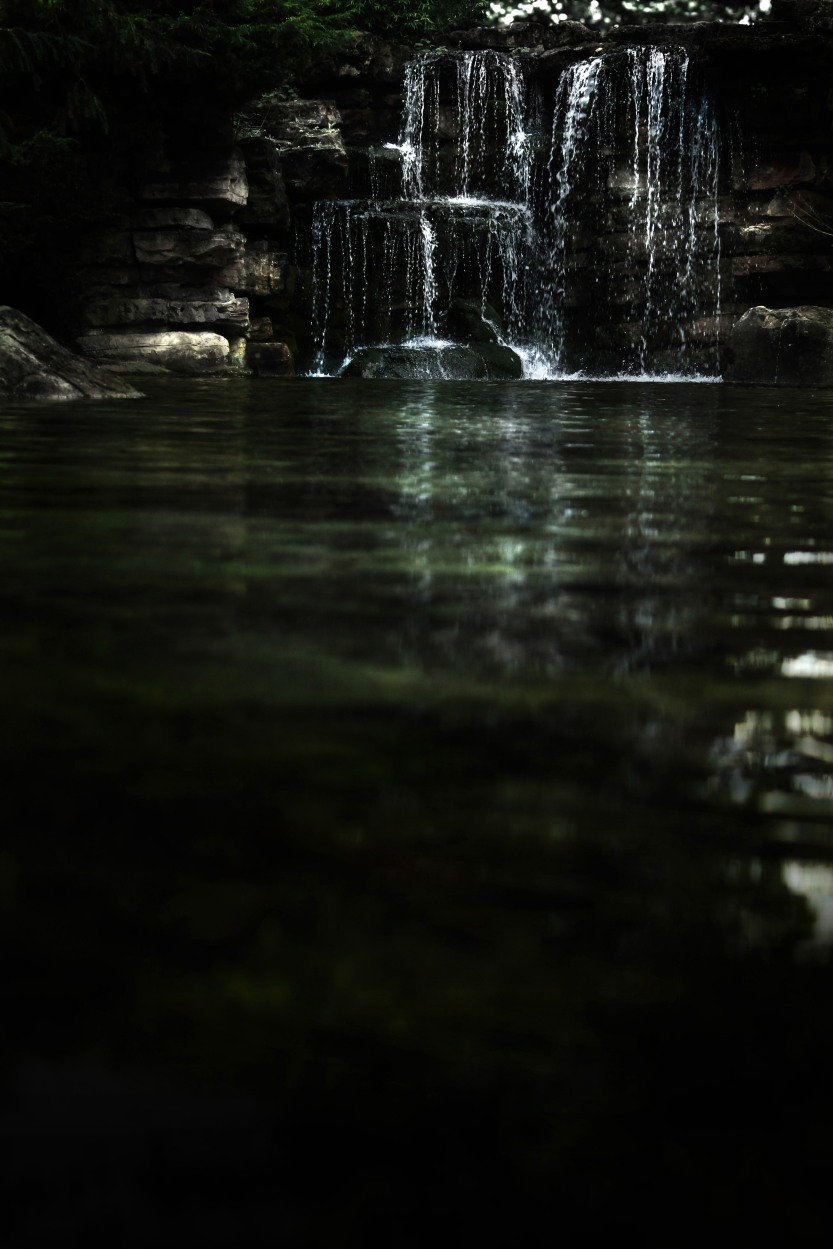
This next image was taken at the Nottingham University Campus where there is a waterfall. I tried photographing it using a range of shutter speeds, however eventually I decided 1/160th of a second worked best as it froze the water. To add depth, I crouched down low and shot across the water managing to capture the reflection nicely. I have to admit, I worked on the image quite a lot in Photoshop as on the day, the light was a little dull.  I selectively desaturated some areas of the image using the paint brush set on saturation and I also added a vignette using the burn tool. I found that this added impact to the photo.


IMG_5406 2 2

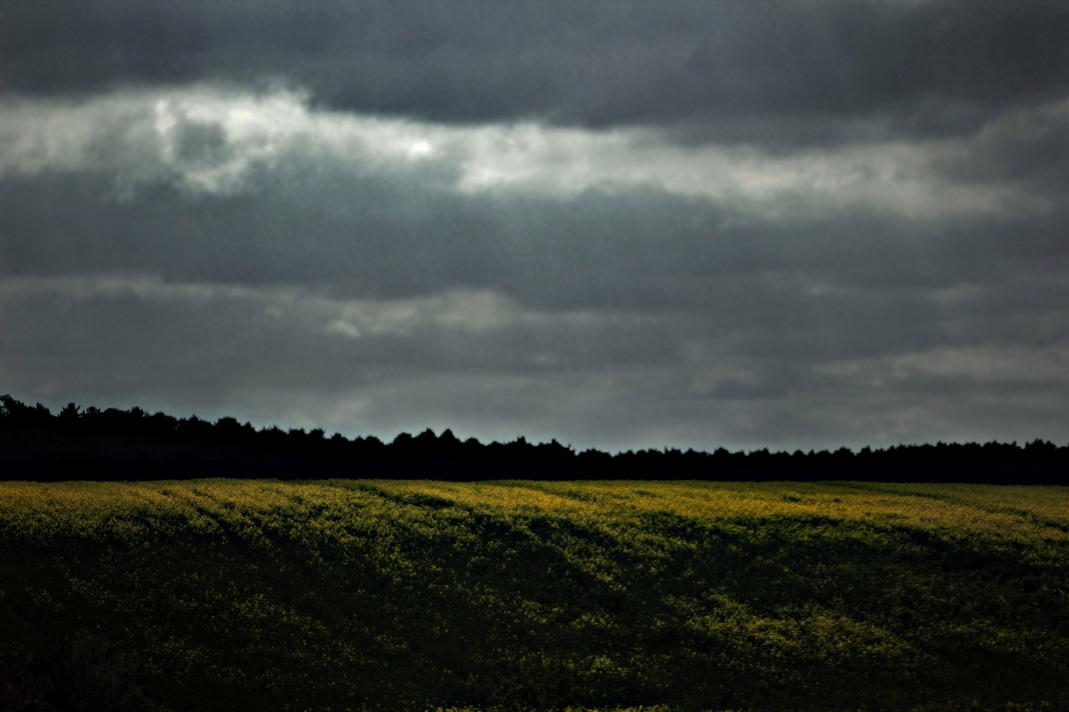
This forth photo is of a Rape Seed Oil field, which I spotted while on a walk. I was after a simplistic landscape photo with no distractions. When taking the photo, I waited for the light to peep through the clouds and shine on the field. Luckily, after about ten minutes of waiting that was what happened. To edit the image, I blurred everything  but the field to add a tilt shift effect.


IMG_5487 3 2

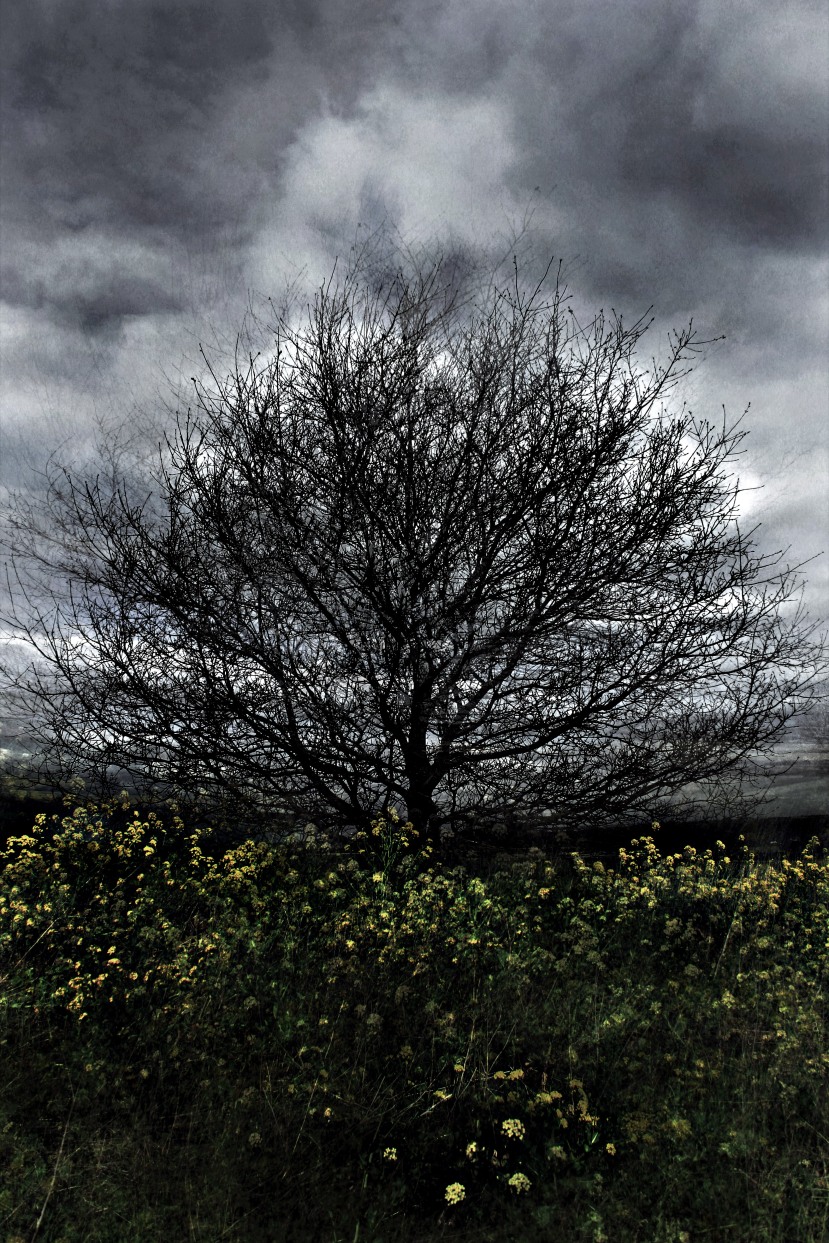
This photograph of a tree among a field of Rape Seed Oil plants is actually a multiple exposure of the same tree taken from different positions. It was then blended together using the eraser tool and the opacity slider in Photoshop. I was influenced by Chris Friel’s Tree photographs which are multi-layered images. .

IMG_5515

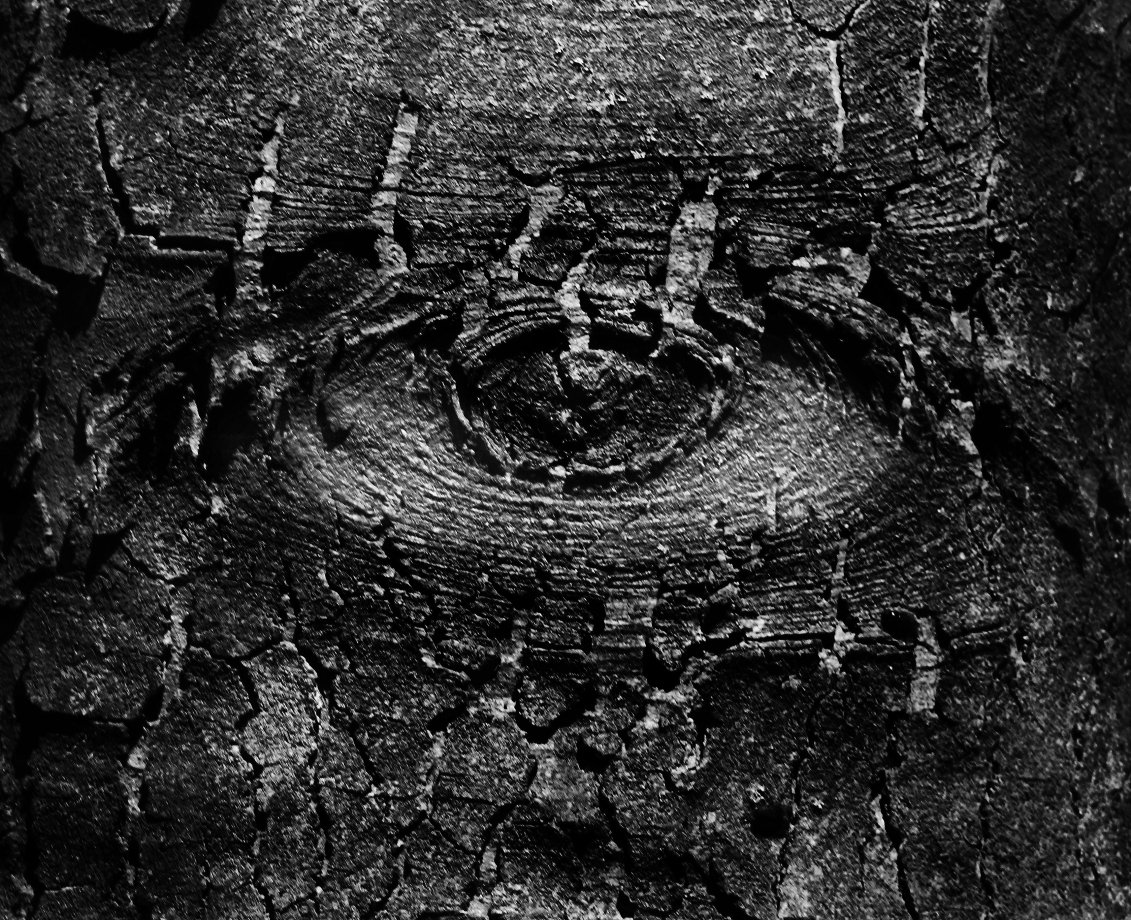
This last image was taken while on a walk in a forest and I spotted this strange shape in a tree. When I went closer to it, I realised it looked remarkably like an  eye. I converted the photo into black and white and used burning and dodging to selectively darken and lighten the image.


I have really enjoyed taking part in this project as it has encouraged me to be consistent and work to deadlines with my photography which is important in the commercial world. I was sad to hear I hadn’t won the competition, but  the winners photos took some beating. Thank you to Photography Monthly for organising it, especially Jade Price who put up will all of my queries throughout the project. I am not going to continue with the project but I will carry on posting images and I hope to do some series’ and photo essays in the future.

Barney


Week 51

IMG_4494 3


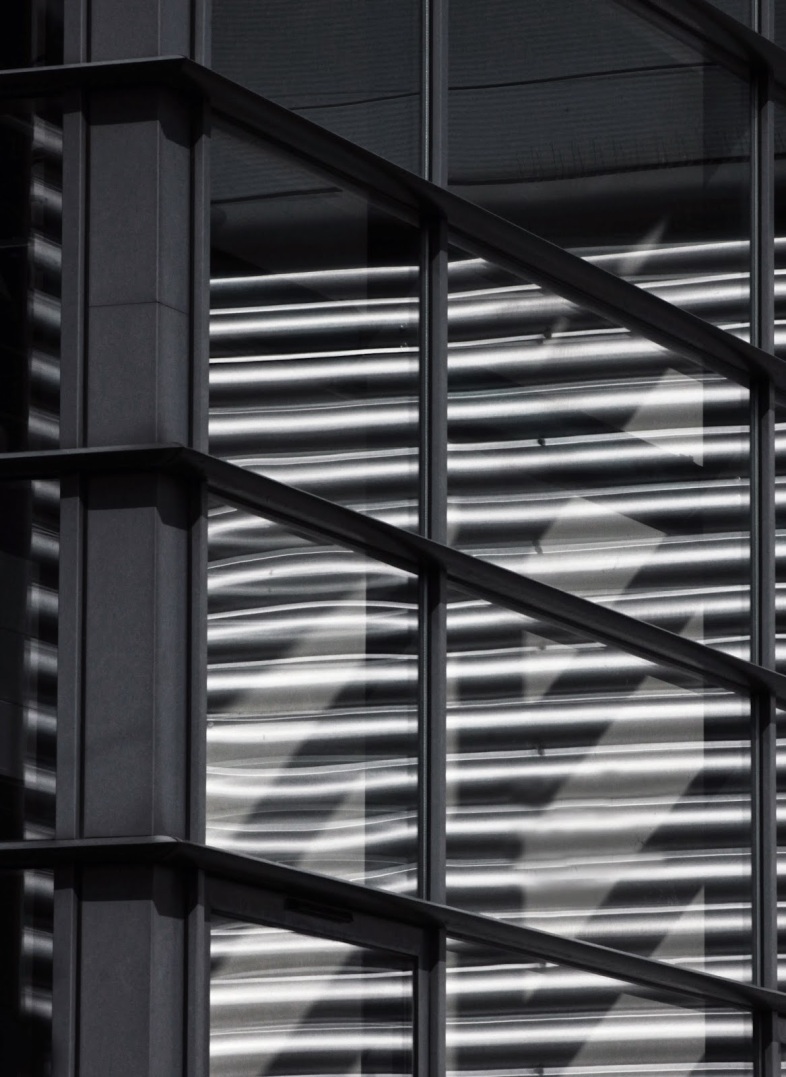
I had more time than usual over the week-end so I was able to visit quite a few locations. This first photo was taken in a business park when the sun was out. This created interesting shadows to work with. With this image I wanted to draw emphasis to the lines and shapes. In Photoshop, I straightened the verticals and  desaturated the photo.

IMG_4608 3 - Copy


This second image was taken on Sunday in a place called East Bridgford. Unfortunately it was really hazy but from a distance this created a misty effect which I liked. After taking the photo with a panorama in mind, I then cropped and brought out the shadows. I was inspired to take this image after having just come across The Epson Pano Awards, which contains some incredible images including a three hundred and sixty degrees category.

IMG_4637 3 - Copy


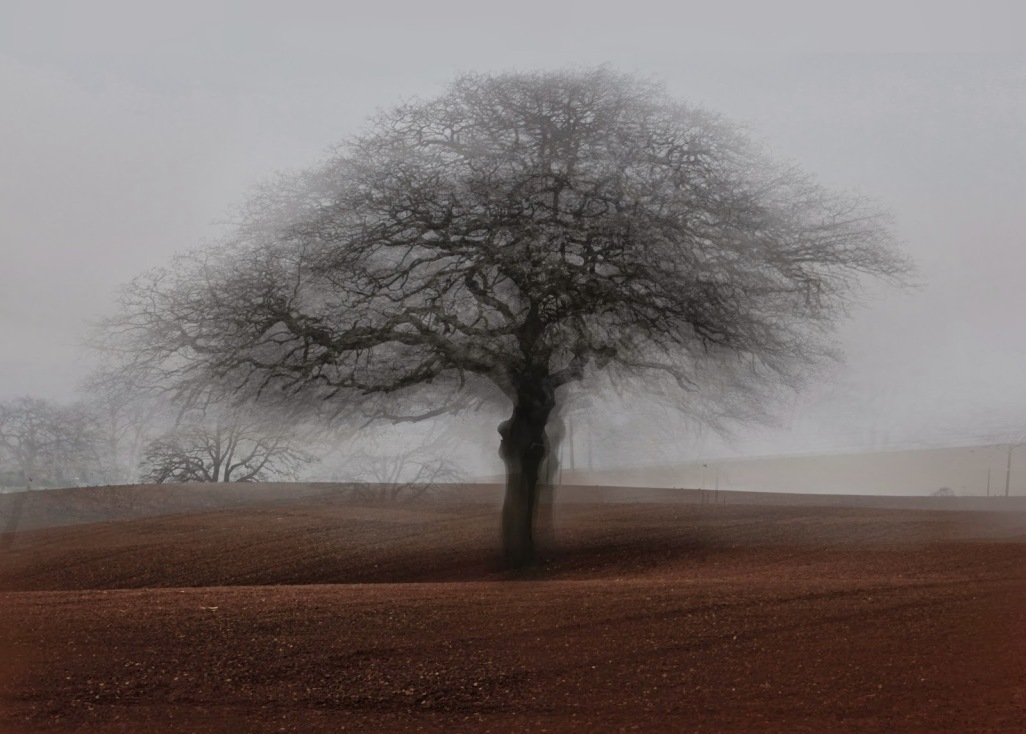
This third image was taken in the same location as the photo before. I decided to try a multiple exposure image using this silhouetted tree. To create it, I had to take various different photos of the same tree in roughly the same position in the frame. In Photoshop, I blended the images together using the opacity slider and merging layers. Some Photographers I like the work of who use this technique are Idris Khan  who creates densely layered architectural photos, Pep Ventosa who using the technique for photos of carousels and other moving objects and  Michael Wesley  who created the longest ever exposure of three years which was used  to document urban development over time.

IMG_4640 3 - Copy


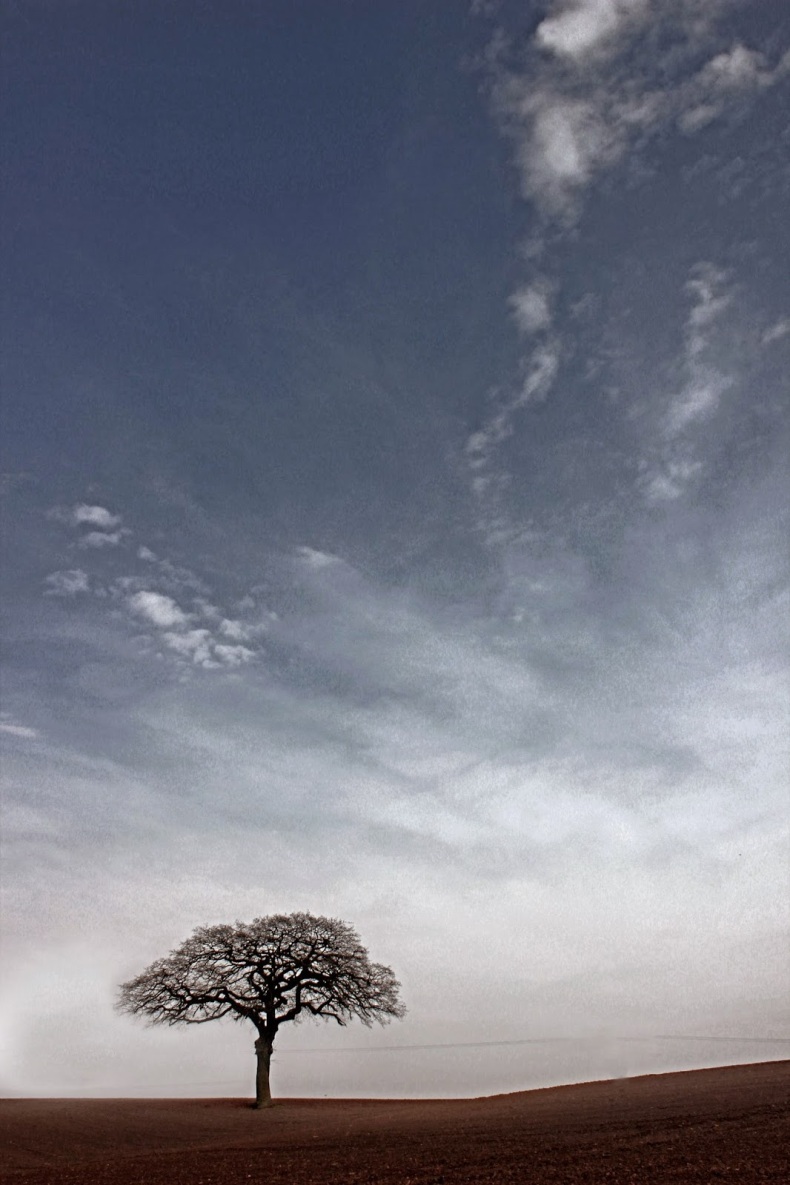
This last image is of the same tree except with a different, more simplistic composition. The lower section of the sky was very grey because of the haze, however, when I looked up I noticed it gradually became bluer  so I decided to take a photo with the tree as a simple silhouette. Luckily there were some clouds in the sky so I included them in composition as a subtle lead-in line. I placed the tree just off center, following the rule of thirds. In Photoshop I had to bring out the blue of the sky a little more.


Week 50

IMG_4223 4

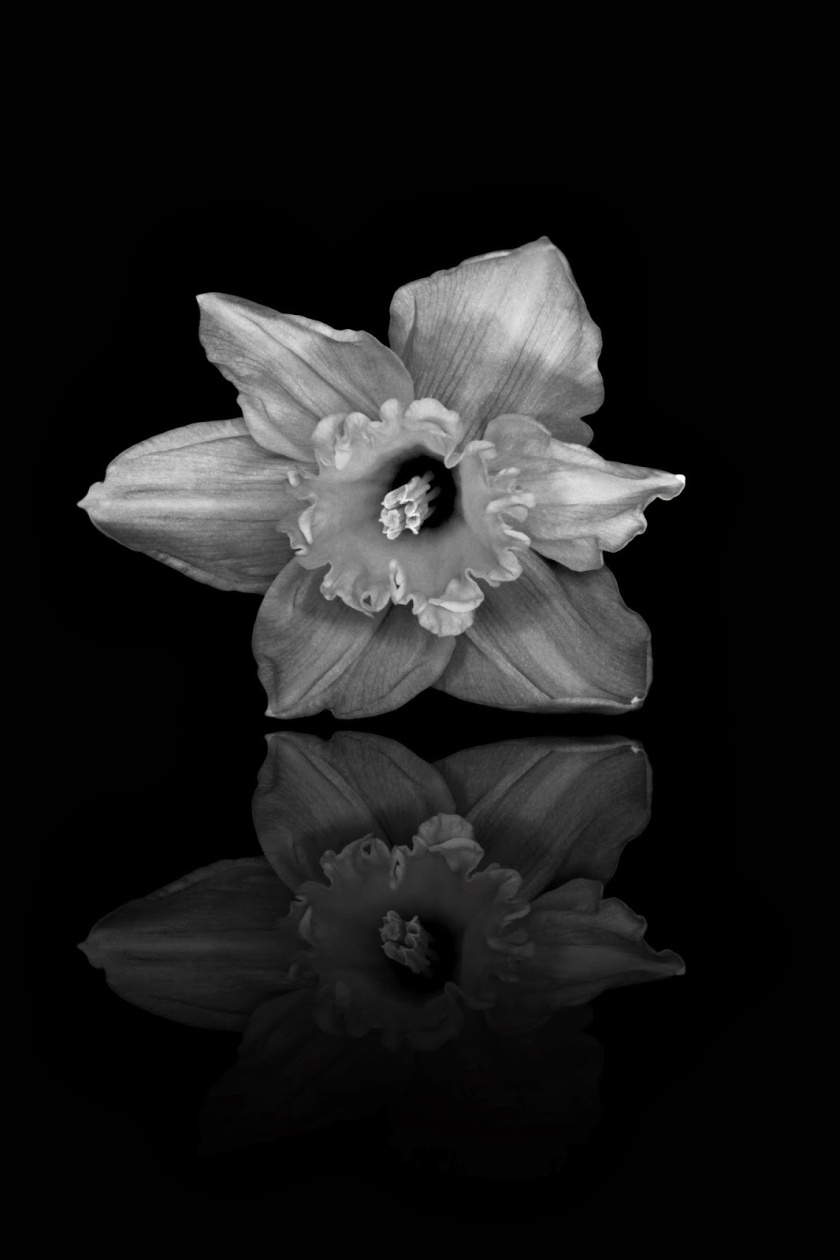
This week was very busy and I hardly took any photographs except for when I was doing photography homework for school and a dog walk around Wollaton Hall. This photograph of a daffodil was taken as homework. I planned to use a mirror to do it but it was unsuccessful so I resulted to making it in Photoshop following a tutorial on how to get a mirror effect here-

http://digital-photography-school.com/how-to-create-a-reflection-in-photoshop-in-6-easy-steps

For the taking of the photograph, I used a five second shutter speed in a dark room and I used a torch to reveal the flower. It took countless attempts, but eventually I got it right using a small aperture for maximum sharpness. I like the simplicity in the lighting and composition which leads you to to the flower instantly and I think converting it into black and white enhances this.

IMG_4191


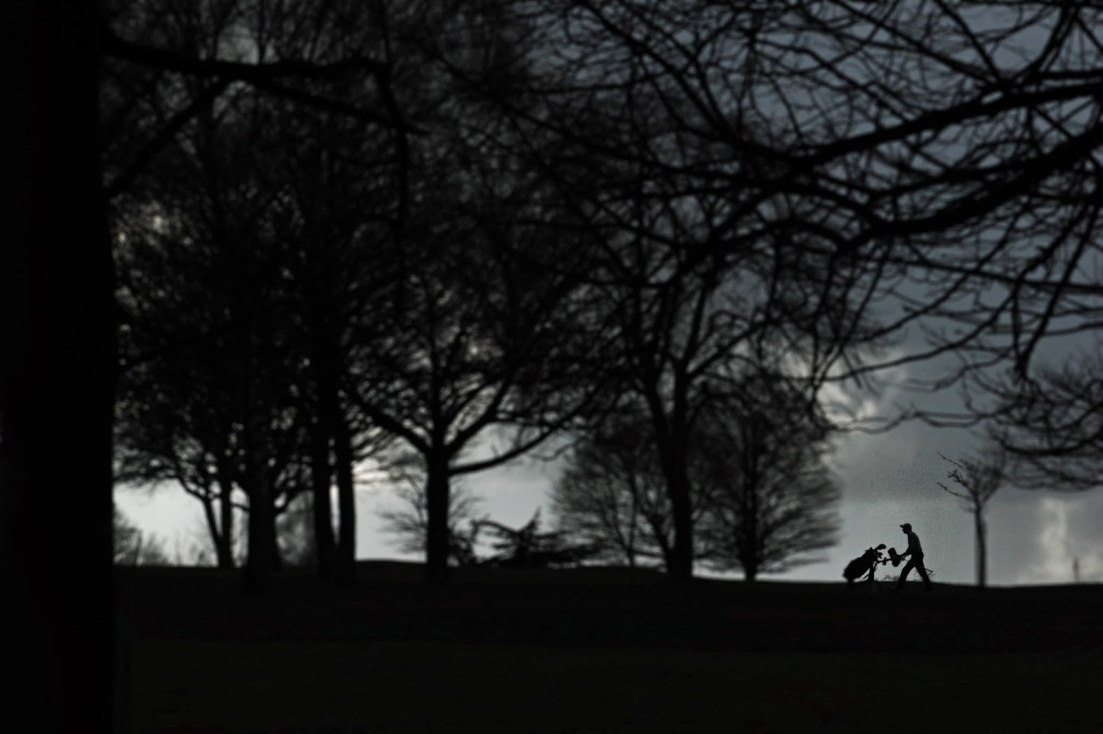
This next image was taken while on a dog walk in Wollaton Park where there is a golf course adjacent to it. I found that the the dramatic clouds created a great backdrop for silhouettes so I framed the shot and waited for a golfer to walk past. It would have been good if there was a golfer hitting a shot but unfortunately all I could get was a person wheeling a golf trolley. The photo was accidentally underexposed as I didn’t have enough time to change the settings but I decided I liked it so I haven’t edited it much except for playing around with the tone curve adjustment.  I also added a blur to draw the viewer to the figure walking and it also made the person look miniature similar to the effect produced by tilt-shift photographers. One of my favourite photographers who uses this technique is Vincent Laforet and I espicially like this image by him because you are instantly brought to the player on the court who has presumably won-

http://fineart.laforetvisuals.com/Life/27/

IMG_3766 2

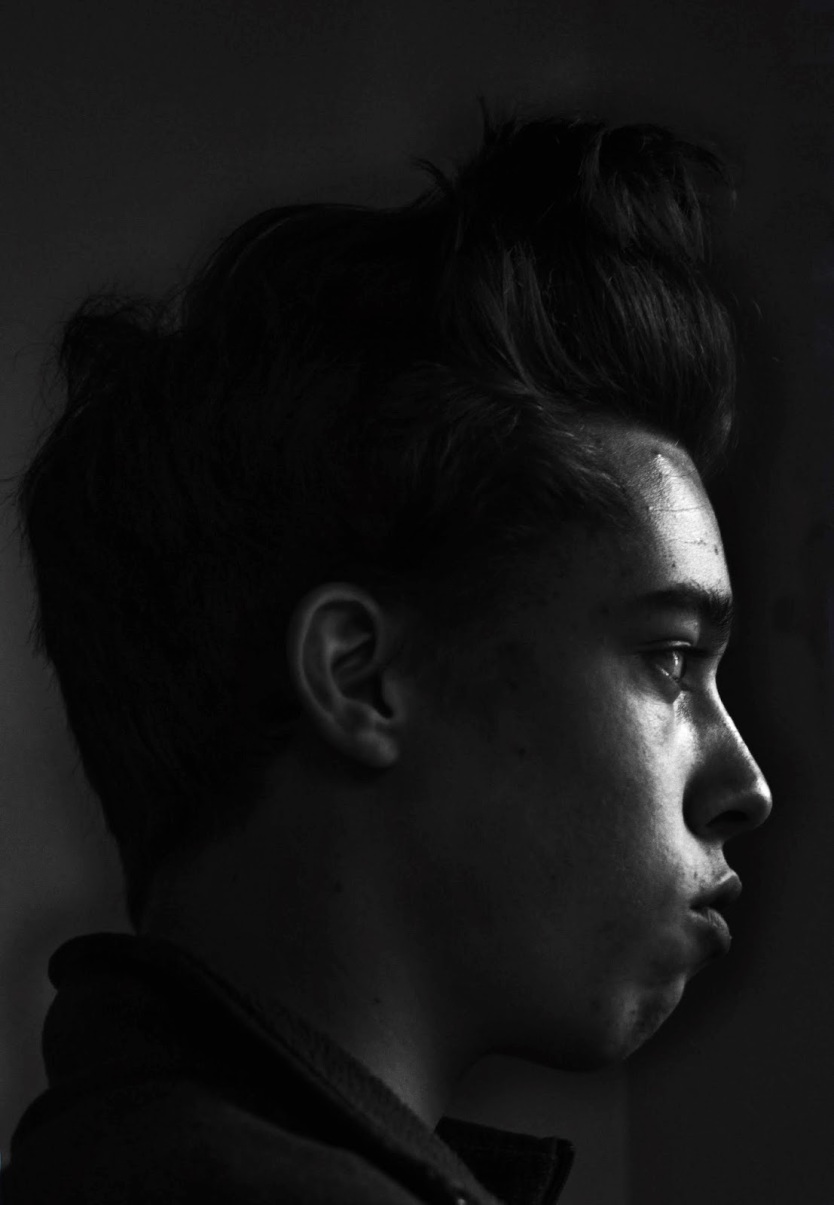
This last photo is a portrait of my Brother which I took early in the week. I still feel uncomfortable taking photos of people as I don’t really know what I am doing. For this image, I made sure I knew what I was doing and I asked my brother to pose. I wanted a profile portrait with the light highlighting the edges of the face  so I positioned him facing the window. I then used a desk light to bring out detail in the side of the face. In Photoshop, I used the dodging and burning tools to control the light and I also converted it into black and white. I was influenced by this photo of Barack Obama by my favourite portrait photographer Nadav Kander. I love the subtle colours and composition of the image.


Week 49 – Swans

IMG_3474 2


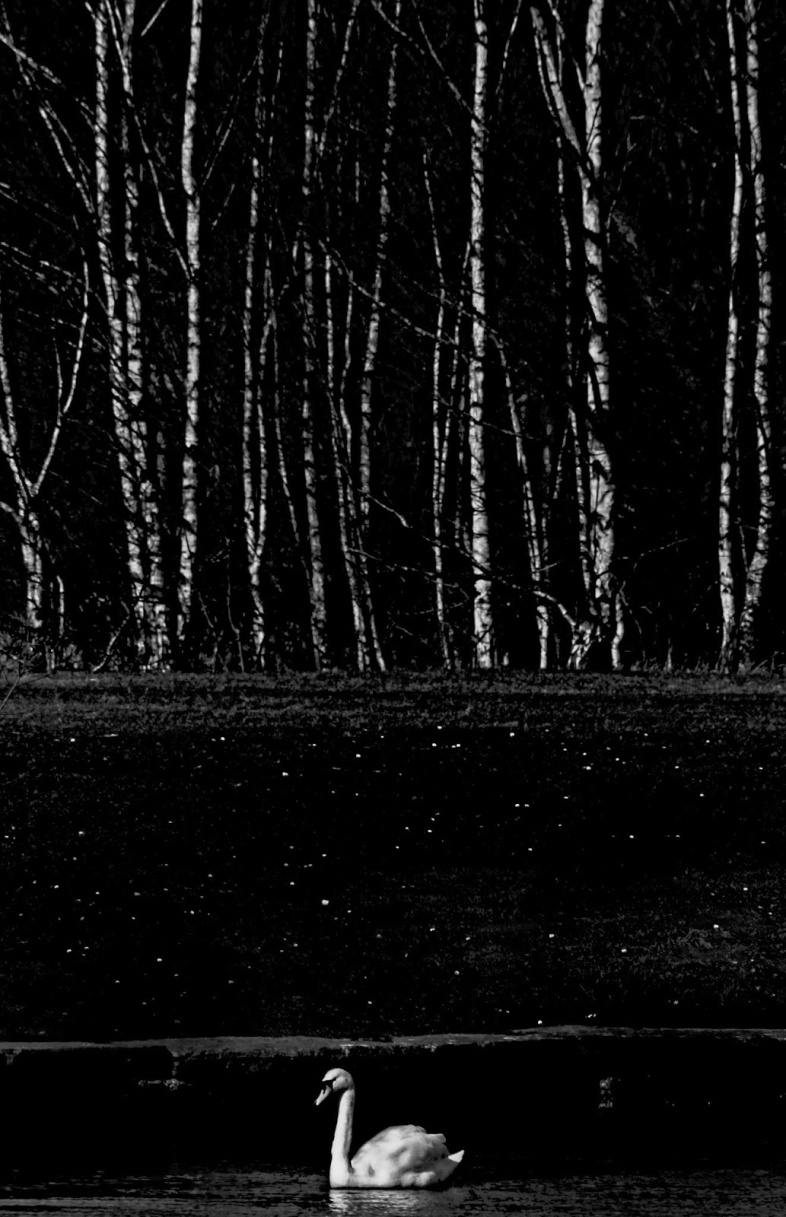
Over the weekend, my Dad and I headed out to Colwick Park, which I realised I had never been to before, despite it being quite local. Fortunately, the weather was good and the Swans were out on display perhaps due to mating, so I began photographing them. This first image was taken from quite far off and I used a small aperture of f/14 to get both the Silver Birches and the swan in focus. For the composition, I placed the swan bang in the middle of the bottom third small in the frame to give create a different view. I immediately knew I wanted it in black and white, so in Photoshop, I converted it into monochrome and brought down the tonal curves significantly to add contrast. I was influenced by this photo on Flickr by James Thornbrook who is a master at light and post-processing.


IMG_3615 3


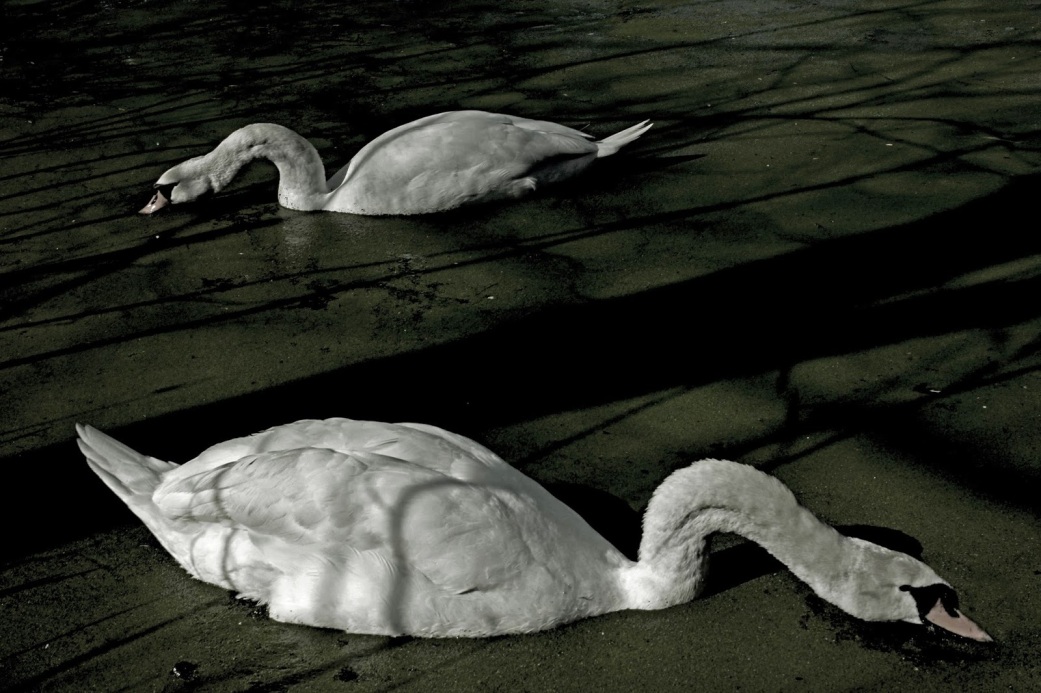
This second image was taken in a small lake covered in algae. I drew some of the swan over by throwing bread into the water and I waited for the until both swans came into the frame. I wanted to draw emphasis towards the shape of the animals so I pressed the shutter when luckily both birds pulled the same pose, almost mirroring one and other. In Photoshop, I reduced the colours a lot until all that showed was the green of the algae. For this image, I was inspired by the work of Karoline Bscheidl who desaturates all of her photos creating unique, dreamlike images.


Week 49


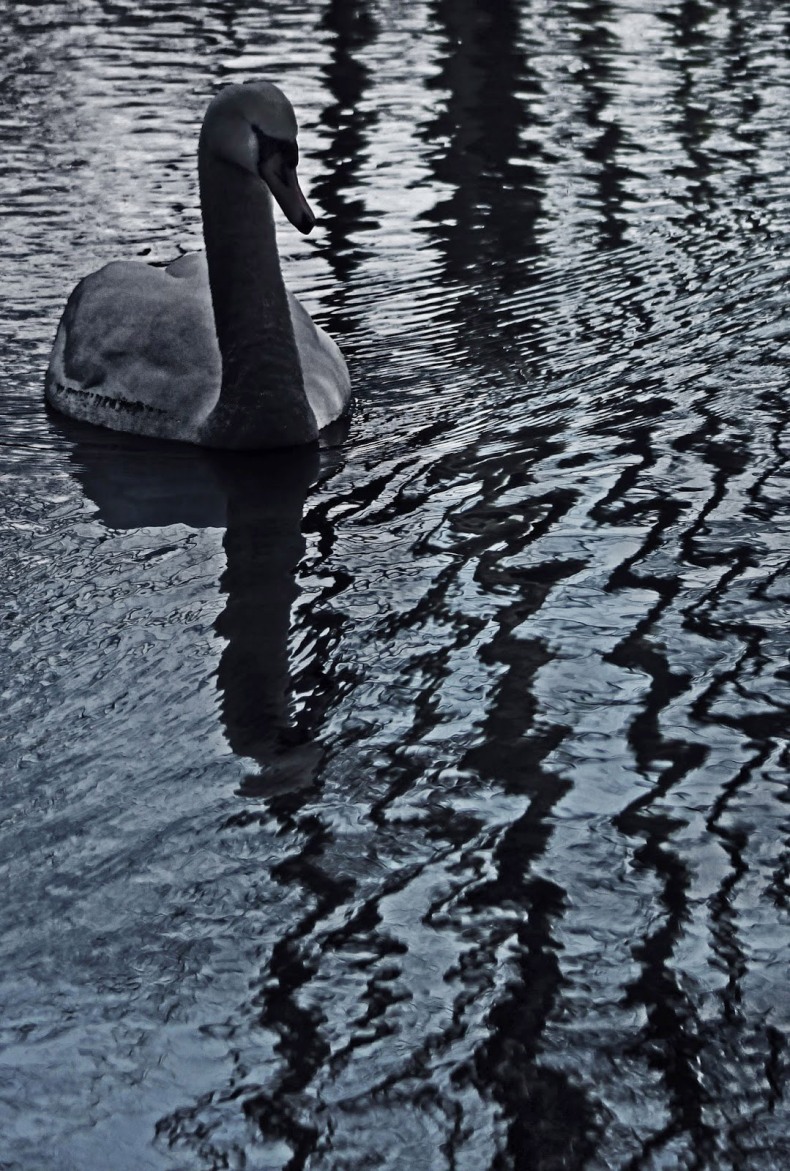
This last shot was taken as I was drawn to the swirling patterns created when the swan moved. I adjusted the shutter speed to 1/640 of a second to prevent the water or the swan blur. This also unfortunately darkened the swan creating it a silhouette. In Photoshop, I increased the contrast and blues, but then used the dodge tool to bring out some of the details in the swans face.


Week 47

IMG_2369 3

IMG_2433

IMG_3916

IMG_2774 2 IMG_3393 2 IMG_4843 2


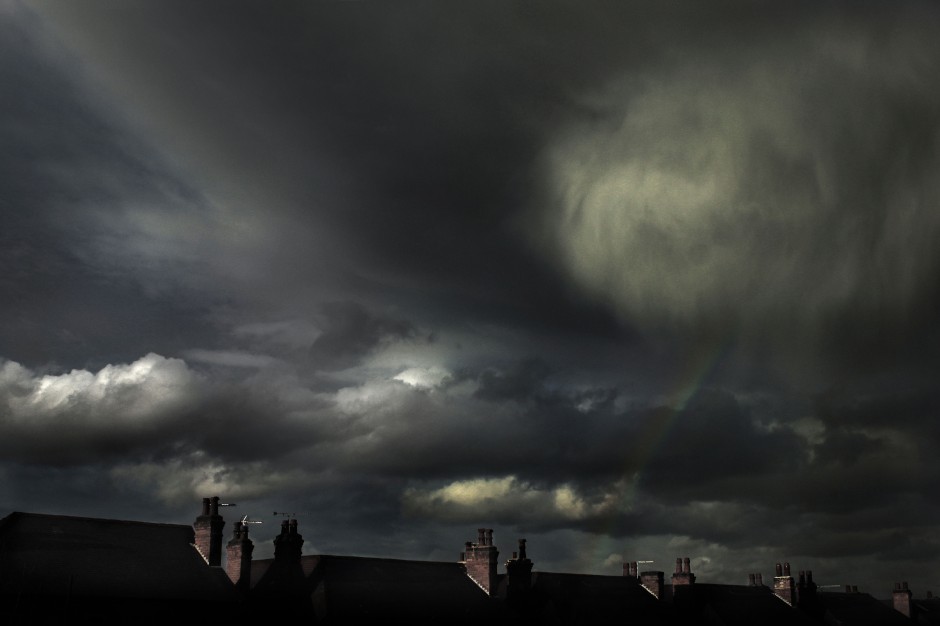
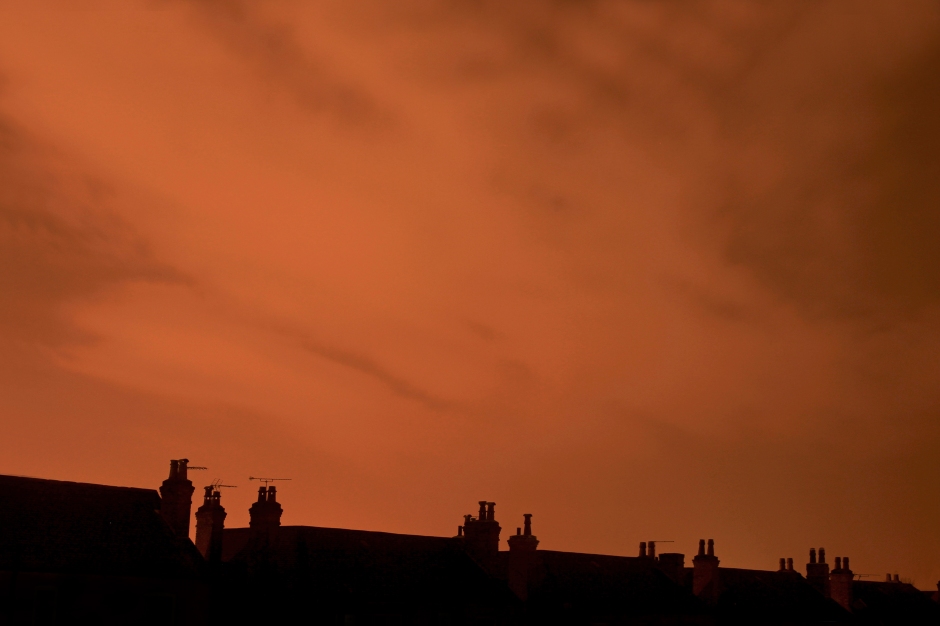
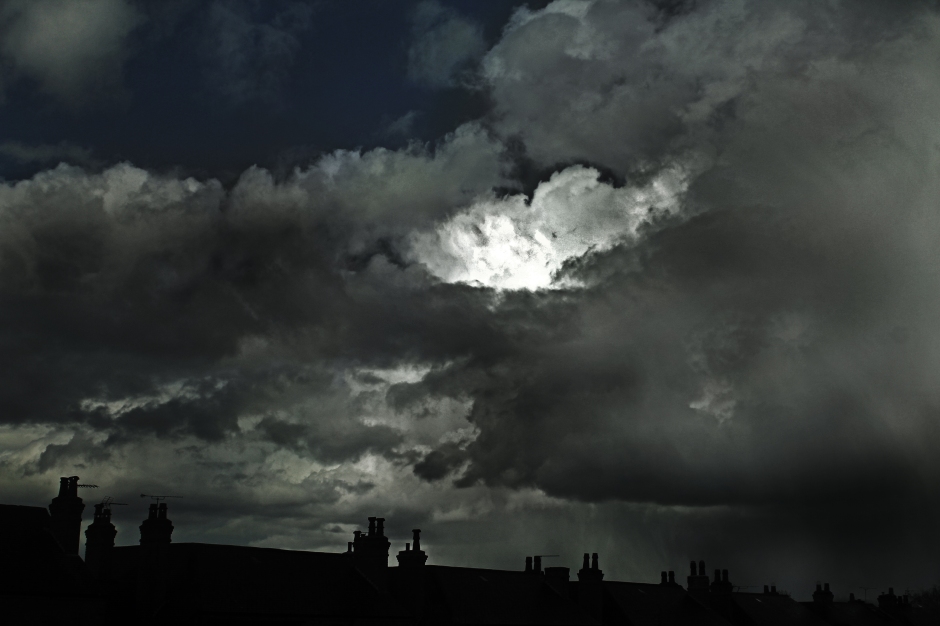
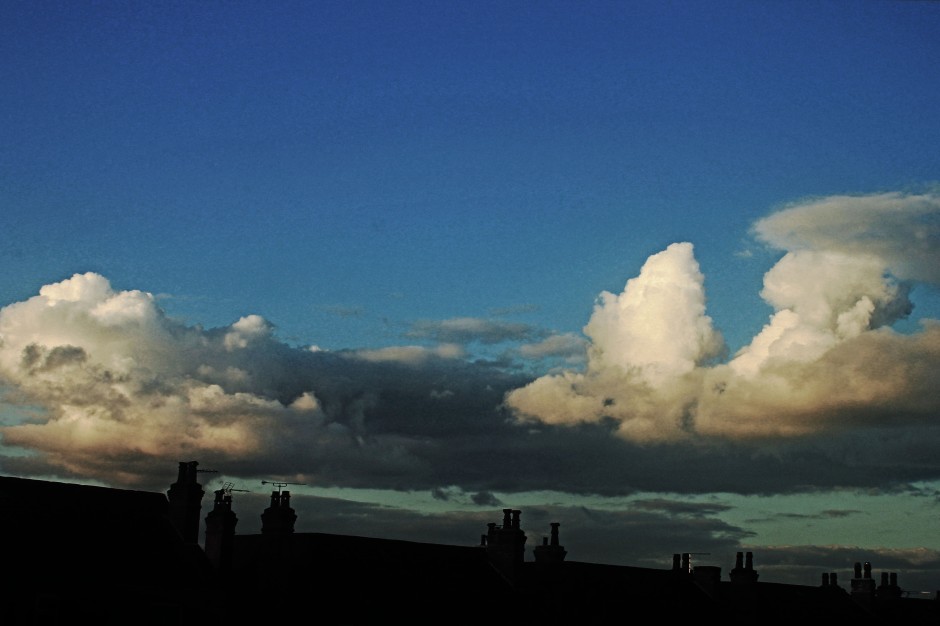
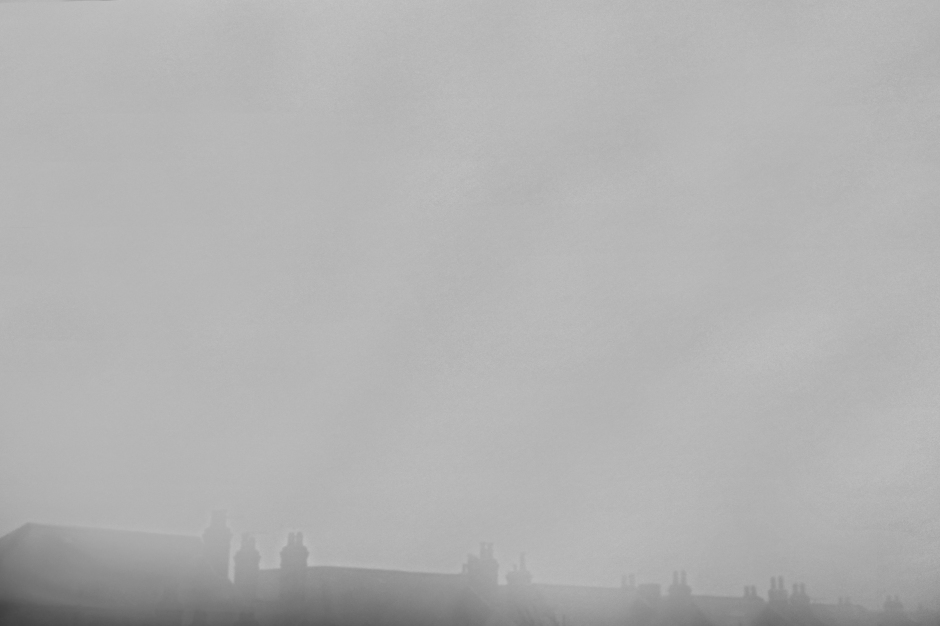
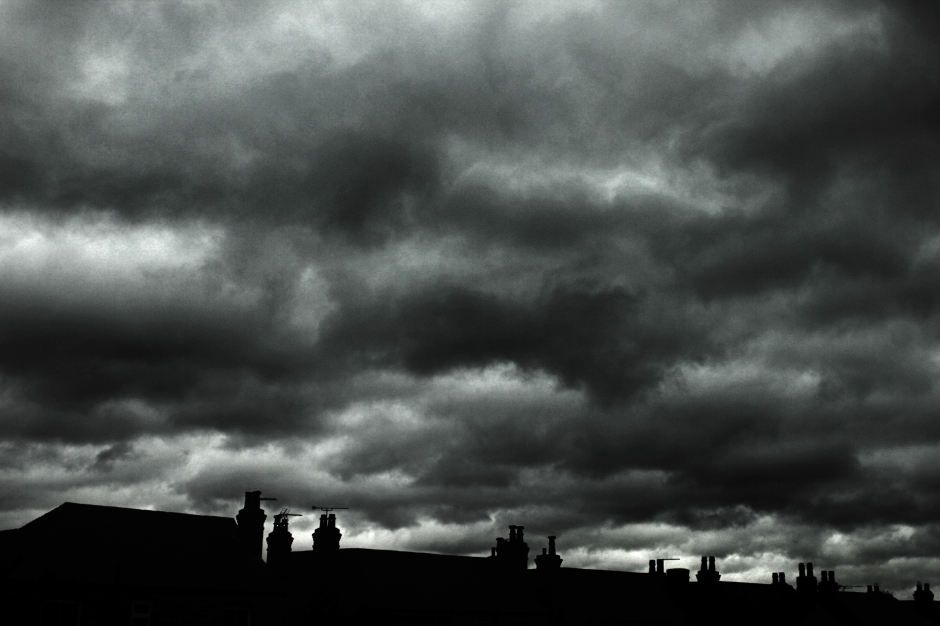
As this week is the last week of judging, I tried something a little different. After having discovered this series by Manuel Cosentino named Behind a Little House, I decided to document the changing cloudscapes across the week through my bedroom window.

Luckily, the weather was very dramatic, including a rainbow (top left) which was hard to photograph and edit in order to get the correct exposure. The top right was taken at night when it was quite clear and the orange , I think, is light pollution from Nottingham. Middle Left is rain in the distance, Bottom right is of the clouds during the week which I noticed were quite dramatic and the middle right is also of clouds which were taken on the same day except they were lit by the setting sun giving them a slightly yellowy tinge. The bottom left is of mist which appeared one morning in the week sometime

Overall, I am really pleased with how these images have come together as a series and I think that as a whole the images are a lot more dramatic and certainly more interesting than they would be on their own.


IMG_2455 2


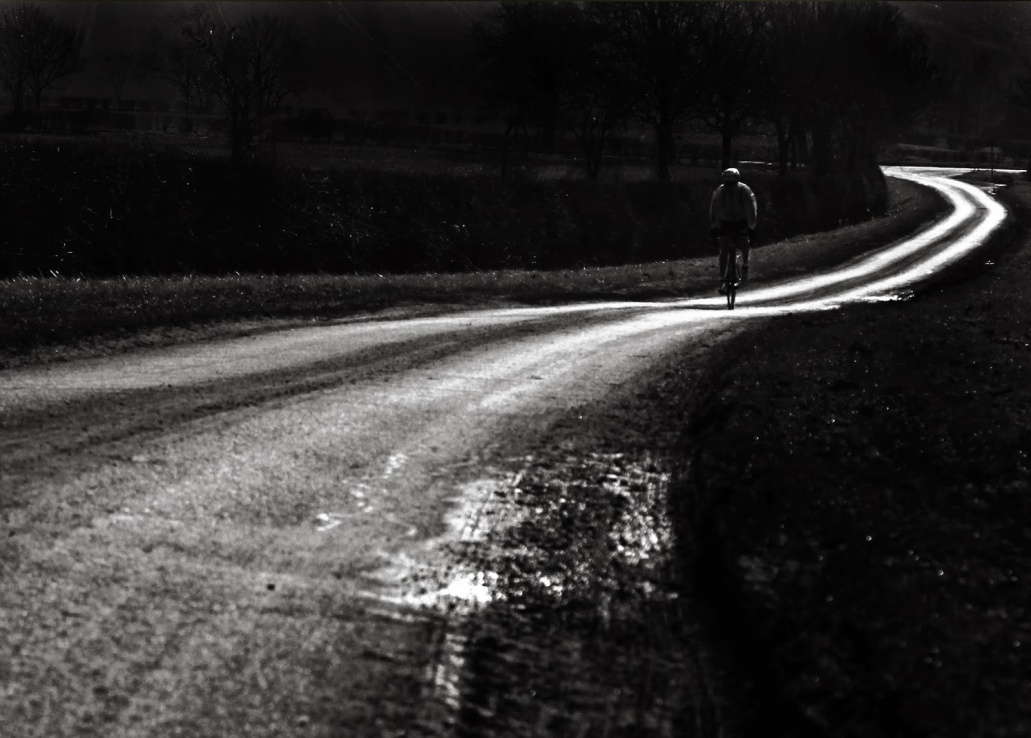
As well as taking images out of my window this week, I went out on Saturday with my Dad to Keyworth when the sun was out. I noticed this S-shape in the road and waited until something came up it. To my luck a cyclist appeared and just as he moved onto the right third of the image, I took the photo. I converted it into black and white and increased the contrast to bring out the sun-lit road. Compositionally, I am very pleased with the image as I like the simplicity, the contrast and the way the road leads you across the image to the cyclist.


IMG_2555

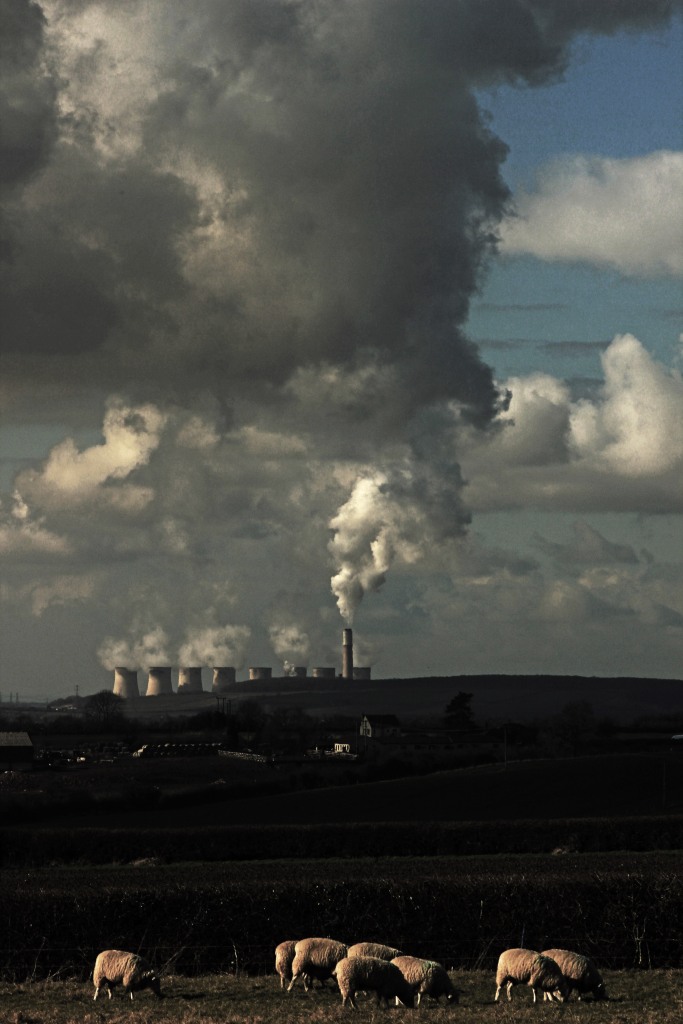
This last image is of some sheep in Keyworth which were in a field with a backdrop of the Ratcliffe-on-Soar cooling towers. Luckily, as the sun was out, it highlighted the sheep but also made the smoke very dramatic. I composed the photo with the sheep in the bottom third and the smoking towers in the middle third. This gave a large space to show the smoke, making the image more powerful. I am pleased with the depth and the sharpness which was enhanced through the use of a small aperture and I like the way your eye gradually moves into the centre of the image because of the many layers. The only think I was dissapointed with was the composition of the sheep in the foreground as it is quite cluttered. I was influenced by one of my favourite landscape photographers – Hans Strand with his volcano images.


Week 46

IMG_1790


This week was half -term so there would have been lots of photography opportunities, but I had lots of homework to do and revision for a big science test coming up. Despite this, I had a few occasions where the light was good and I would go out for a few minutes.


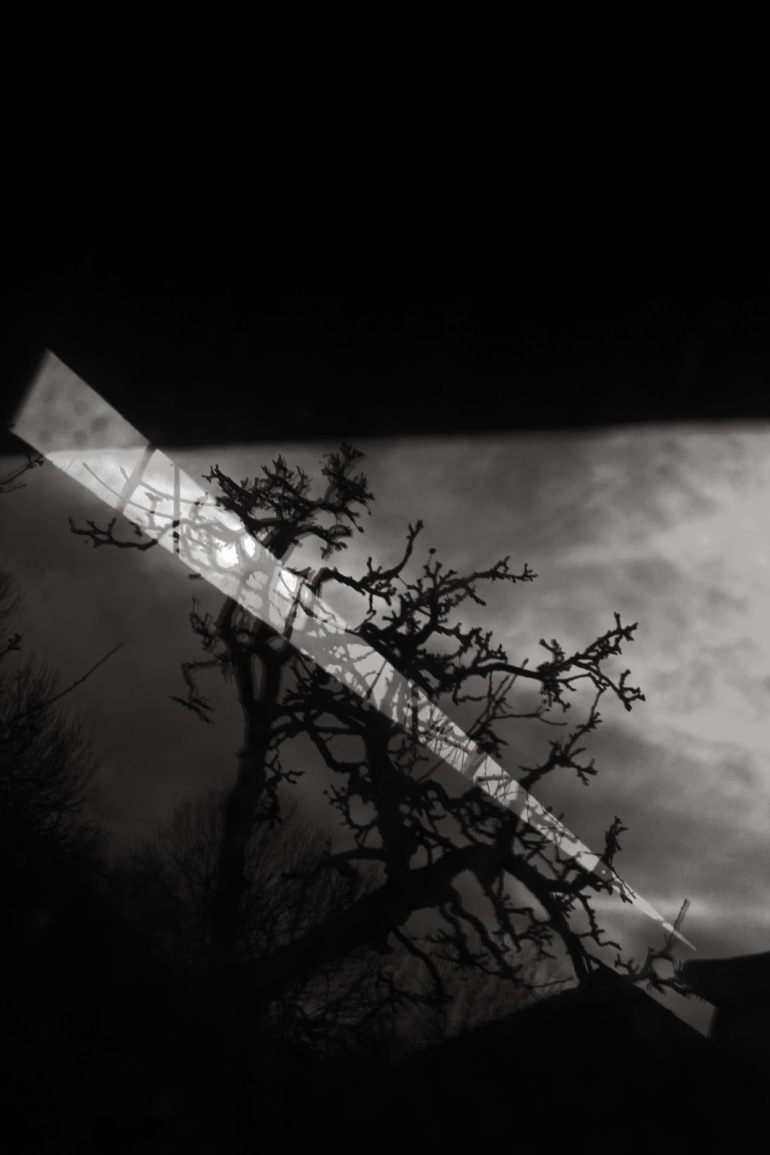
This first image was taken when I was in the garden and I noticed a few interesting reflection in the glass of the shed window. To take the image, I set the aperture to f/18 to get as much in focus as possible and making it slightly under exposed, which I was after. In  Photoshop, I played around with the tone curve adjustment, to increase contrast in a more controlled way to just using the contrast slider.


Overall, I am very pleased with the image as I thing it is quite different and I like the different shapes in the frame and the contrast. To improve it, I would perhaps use a less cluttered composition to make it more visually pleasing.


I was influenced by Lee Friedlander’s many photographs of reflections, which all have a clever use of composition and light and sometimes humour.


13038509145_bbe47aea28_b


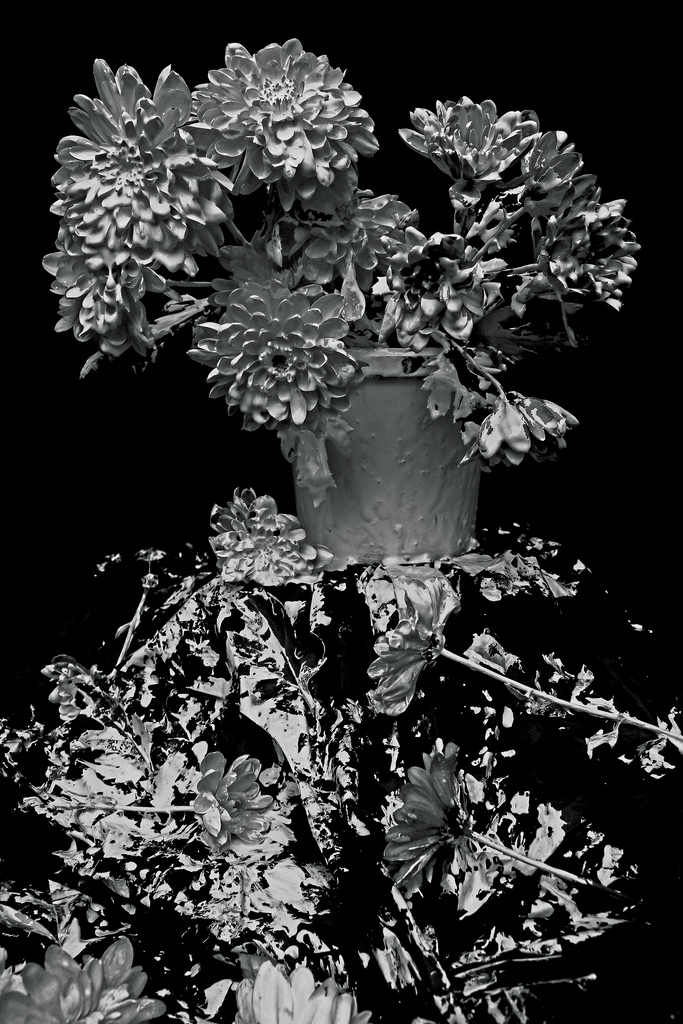
This second image is quite a bit different to most of my images and that is because it is part of a series of photos I am doing for photography at school and they are all still lives with a twist e.g. using paint or ice.This time I tried using paint, which required a lot of preparation. First of all I placed some bricks on the floor to make a raised section. To make the background as black as possible, I then lay bin bags down on the ground. After that, I painted the pot completely in white paint and dabbed some paint onto the flowers. It then spent some time arranging the and placing a few on the bin bags below. Composing and lighting the image was quite simple as I didn’t want to over-complicate the photograph and I wanted it to look as much like a normal vase of flowers as possible, however I did use a tripod to make it as sharp as possible. To edit the image I removed the background further by increasing the contrast. The one thing I am annoyed about are the colours which I do not thing go well together.

Although my photo is not entirely the same, I was influenced by Ori Gersht’s Time After Time & Blow Up series where he has photographed flowers blowing up using a specialist high speed camera. Ori Gersht is one of my favourite photographers because of the way he has taken a commonly photographed subject and made it his own.

IMG_2120 2 (1)
 

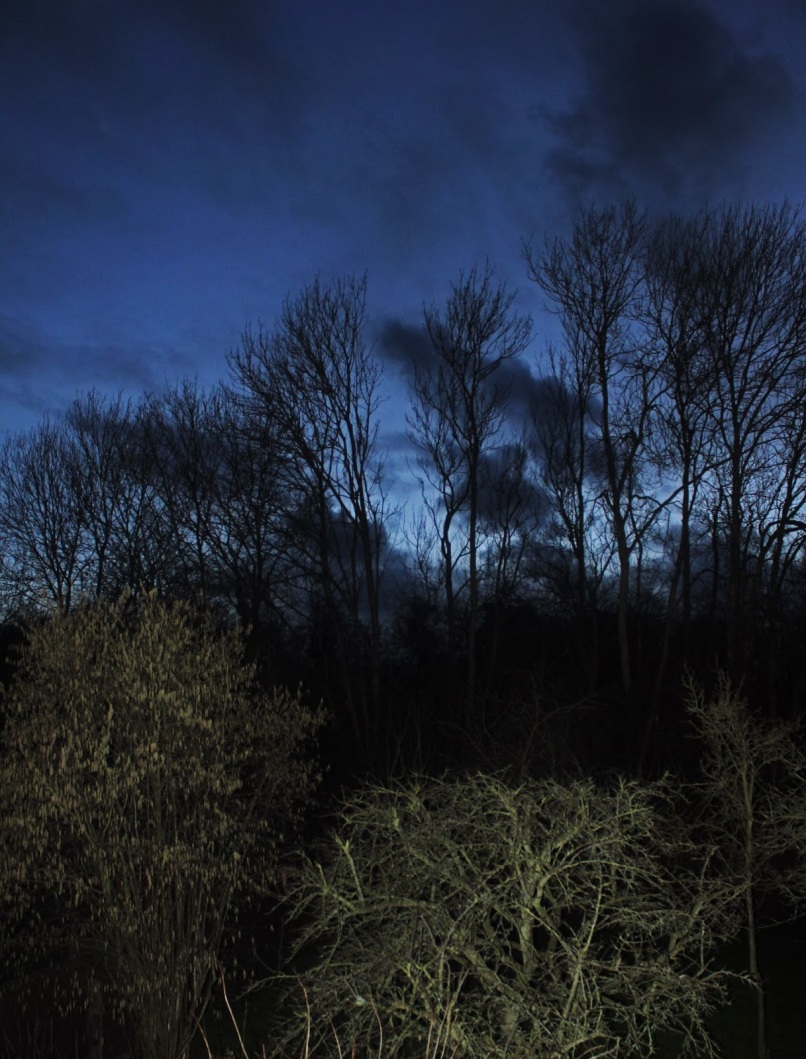
This last image was taken in the blue hour during the week.


I used the pop-up flash, which I made as bright as possible and I included the silhouettes of the trees against the blue sky. I think that the use of the flash adds more foreground interest, which I was after. I had to make the picture as bright as possible as my Tripod has broken, so I put the ISO to 800 making it slightly more grainy. I also took the photo from my bedroom window to get a different perspective. To edit the image, I increased the saturation slightly and shadows to bring out lots of detail.


Overall I am really pleased with the image as using a flash for landscape photography  is something I have never used before and I feel that with this image it has really worked as it has brought out the colours nicely.


I was influenced by Dennis Calvert who is a master at light painting.


Barney


Week 45

IMG_1279 2

 
On Thursday, my Dad and I headed to London, to go to a private viewing of the International Garden Photographer of the Year at Kew Gardens. It turned out I had won the young category with this image which I was incredibly happy with as I had never won a photography award before.

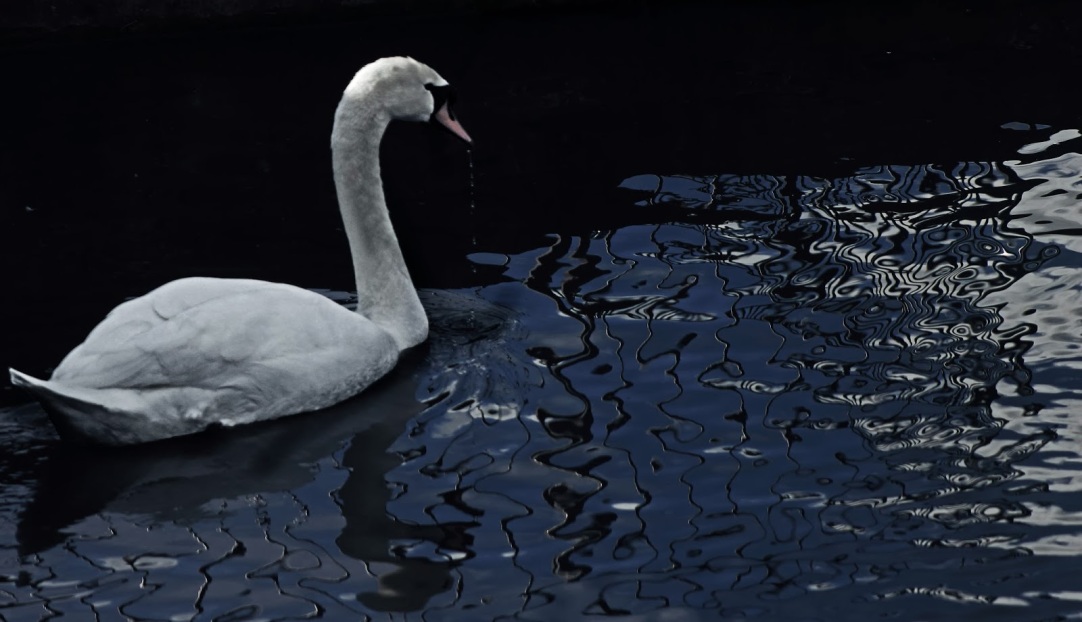
After having gone to the exhibition, I quickly went around Kew Gardens, looking for any photo opportunities as the sun was out. While walking around one of the lakes, I noticed this interesting reflection I wanted to document. I waited for a subject and luckily a swan came into the frame. After it had dipped its head in the water, I took the photograph, capturing the water dripping out the beak. I am quite pleased with the pose, however I was hoping to get a more abstract look which was less cliched.

In Photoshop, I reduced Highlights as the swan was overexposed. Through color balance, I increased blues to reduce the unattractive, green tinge to the water.

I was influenced by my favourite wildlife photographer Paul Nicklen who takes his shots in the vicinity of Water. He first came to my attention when he won the Wildlife Photographer of the Year.

IMG_1320 2

This second image was also taken in Kew Gardens in the Palm House greenhouse where there were lots of unusual plant.

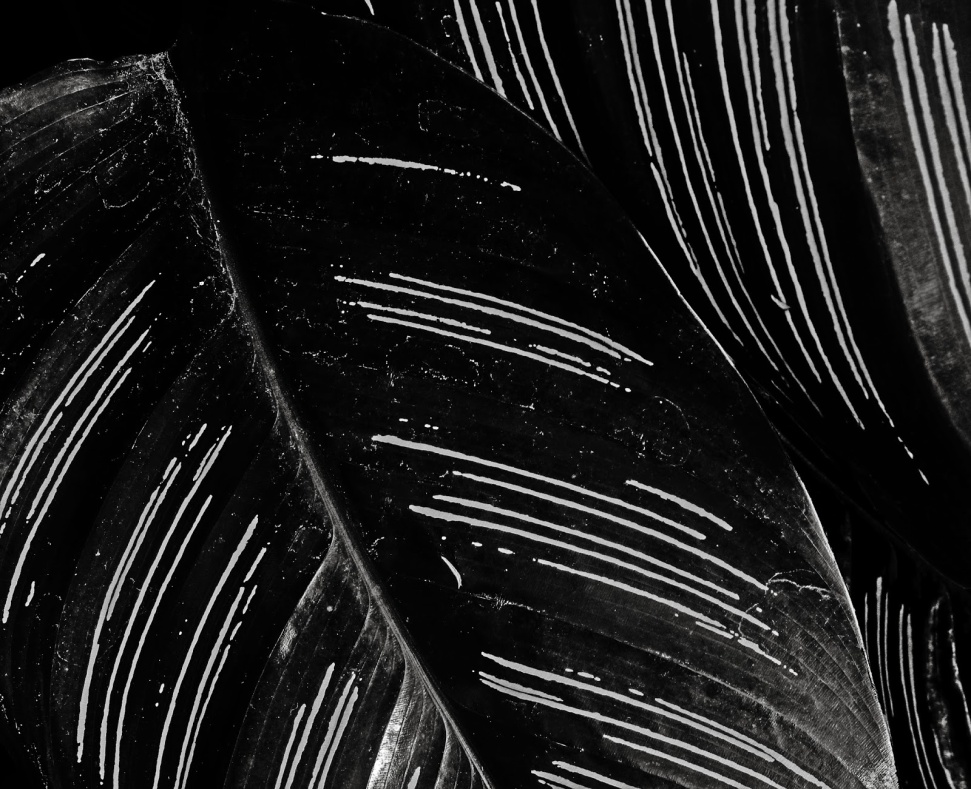
While walking around, I spotted this plant with distinctive lines and began photographing it. I set the aperture to f/14 to get as much in focus a possible so I could later crop it in Photoshop and I took the image from above to get different layers and an more of an aerial perspective.

When I got the photo onto the computer, I tried lots of different cropping formats so I could make the most of the lines and layers. Although it doesn’t really have much of a composition, I went with this as it was the most pleasing to look at. I then converted the image into black and white and boosted the contrast, while trying to retain some of the detail in the leaves.

I was influenced by this image by Robynne Limoges which was at the IGPOTY exhibition. I really liked the graphic quality in the image which I have tried to create in my photo.

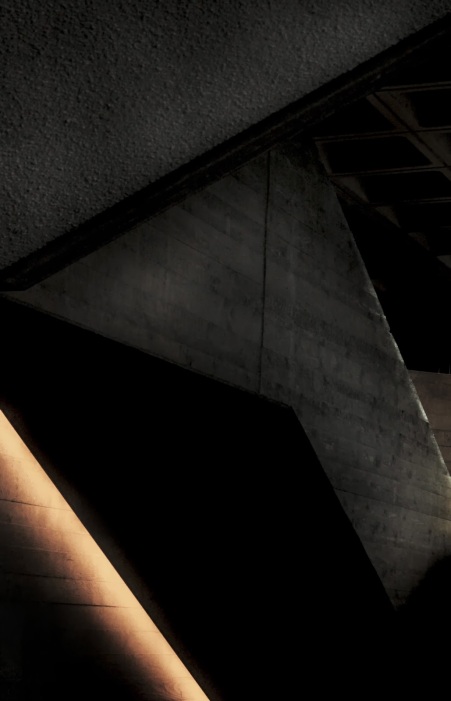
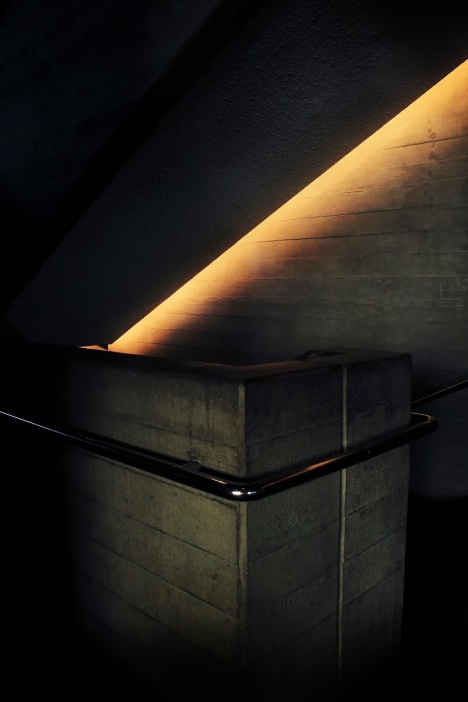
IMG_1385IMG_1388


These final images are a lot different from most of my images, but I have decided to include them anyway.

They were taken while in the Royal National Theatre and they are both of the very industrial staircase, which I was drawn to by the interesting light. As it was quite dark in there, I had to use a wide aperture which meant not everything was in focus. I composed the photographs using lots of diagonals to create more abstract photographs, especially with the one on the left.

In Photoshop, I played around with the tone curve adjustment, making both the photos slightly underexposed, which in this case I believe is better. In the left photo, I increased blues and reds and in the photo on the right I increased blues and green. Overall I am pleased with the results, but f I were to take the images again, I would have tried to retain some of the details in the darker areas.

I was influenced by the architectural photographer Hélène Binet for her artistic photographs where she has focused particularly on line and shape.

Barney

Week 44


This week, Project 52 is gradually coming to an end, I have decided to include more than one photograph in each post.


I am now on the forty-forth week and gradually the project is coming to an end. For this week, here is my image.

I’ve been meaning to try this technique out since starting the competition, however I have never got round to doing it. After realising I had not done much portraiture, I decided to try it out this week. I was influenced by the work of Lee Jeffries whose photographs of the homeless are extremely powerful and I am sure he was influenced by Don Mcullin’s Homeless Irishman photograph.

I managed to persuade my reluctant Dad into taking a photograph of him and I got him to stand outside where the light was soft and diffused, ideal for portraiture. Although Lee Jeffries uses a 24mm lens probably to make you feel closer with the subject , I used a telephoto lens as I prefer the flattened perspective and it allowed me to throw the background out of focus. I also used the built in flash to darken the background and make my Dad stand out better. I was only allowed to take one picture, so I decided to get him to pose using his hands to make him look as if he was thinking although looking back at it now, I regret telling him to as the pose is slightly clichéd and overused. I also got him to squint to accentuate the lines in his face.

I tried to find the technique he uses to make his photographs so sharp, but he doesn’t give much away. The only information I found was in an interview where he said that dodging and burning plays a huge part in developing mood, similar to what used to be done in the darkroom. As well as creating a light HDR through bracketing, I used the dodge and burn tools to increase the contrast and converted it into black and white.

Overall, I am extremely pleased with this photograph as I managed to achieve exactly what I planned. Also, I find portraits very challenging, but I think I have done an alright job of this one. The only thing I dislike, is the expression as it is difficult to relate to a certain emotion.


This second image was taken on Saturday, in Lady Bay by the river Trent.


Due to the increase in rainfall resulting in a lot of flooded areas, I headed out to a location by the river Trent hoping to get some good reflections and unusual landscapes. When we arrived, I found this puddle and I asked my brother to jump over it. After one try and not getting the photo I wanted, I knew I was only allowed one more go. This time, I set the shutter speed to 1/1000 of a second and adjusted the shooting mode to continuous, this meant that when my brother jumped over the puddle, I was able to hold the shutter down and hope I got the perfect shot.  I composed the photo so that the puddle gradually narrowed drawing you closer and closer the center of the photograph like converging lines.


When I put the image onto the computer, I converted it into black and white to remove any distractions. I also removed shadows and highlights and equalized it as the sky was blown out.


 I was influenced by Henri-Cartier Bresson’s famous Puddle photo where he captured the person perfectly with both feet of the ground, following his famous “Decisive Moment”.


Overall, I am really pleased with the photo because I managed to get the moment how I wanted with wide legs, a good expression on my brothers face and a slight splash in the water .


Barney


Week 43 – I’m All Ears


As I was ill all of Sunday which was when I was going to take photos, here is my photo which I did not intend to be this weeks photo and I am not particularly proud of it but it will have to do. Also, thank you very much Photography Monthly for making me the eleventh winner, good luck to everybody else in the competition for the final month.
 

For this image me and my Dad went out on the Saturday to the river where the water was extremely high. It was also really windy and I noticed every so often my Dog’s ears would stick up and I thought it would make an interesting photograph. I ran in front and got eye level with him (a useful tip for animal photography). I then set the shutter to 1/320th of a second, in order to reduce motion blur. After that, all I had to do was focus and take the picture.

When editing the photo, I converted it into black and white and increased the sharpness to give it a grainy feel to it.

Overall, I am pleased with the way the photograph was composed, with his face in the centre of the Fibonacci spiral. I am also pleased I managed to get him staring right at the camera, as it makes the photo more engaging to the viewer. The only thing which would have made it slightly better would have been if there was more of an interesting backdrop.

I was influenced by the brilliant pet photographer Martin Usbourne with his series Dogs in Cars  where he has managed to capture a unique expression every time, revealing a different story with each dog.

Barney